A picture is worth a thousand dollars
How to take the best job site photos possible and why it’s so important.
Missing items in photos can result in missed billed items on your invoice and slower estimate approval/payment.
Documenting damage and repairs with photos always seems like it should be easy, but when you sit down at your desk and write an estimate that you or someone else scoped earlier, something always seems to be missing. More and more insurance companies are not sending adjusters on site, and are leaning on customers and contractors for documentation of damage.
I remember as a trainee I had just finished an exhausting day. It was August in Georgia and HOT. I had been looking at hail claims all day and loading and unloading the ladder what felt like a million times. All my estimates were all uploaded and I was starting photo reports – darn, the front of risk(front of the home) photo was missing. How did I miss that one (oh yeah, the homeowner ran up to my car as soon as I pulled up)? Maybe no one will notice. My boss was still approving all my estimates at the time and he noticed. His words, “Like my daddy always said, if your going to be dumb you better learn to be tough. Go back and get it.”
Great advice I received from a reinspection trainer: photos are free to take so get more than you really need.
If I think back to the amount of time wasted for contractors, insurance companies, and homeowners, and how many checks were held up or estimates not approved because a single photo was missing, I’m amazed. It happens all the time and most of the time it’s avoidable. Having all the photos needed and then some lends so much credibility to your estimate and also shows you are accurate and detail oriented and your estimate probably is too.
Tips:
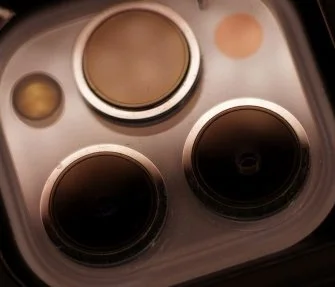
Wipe your cell phone’s camera lens off. Very simple, but if this isn’t done and it is smudged or thumb printed, none of the other tips matter. Everything will be kind of blurry and out of focus. Use your shirt or whatever your have.
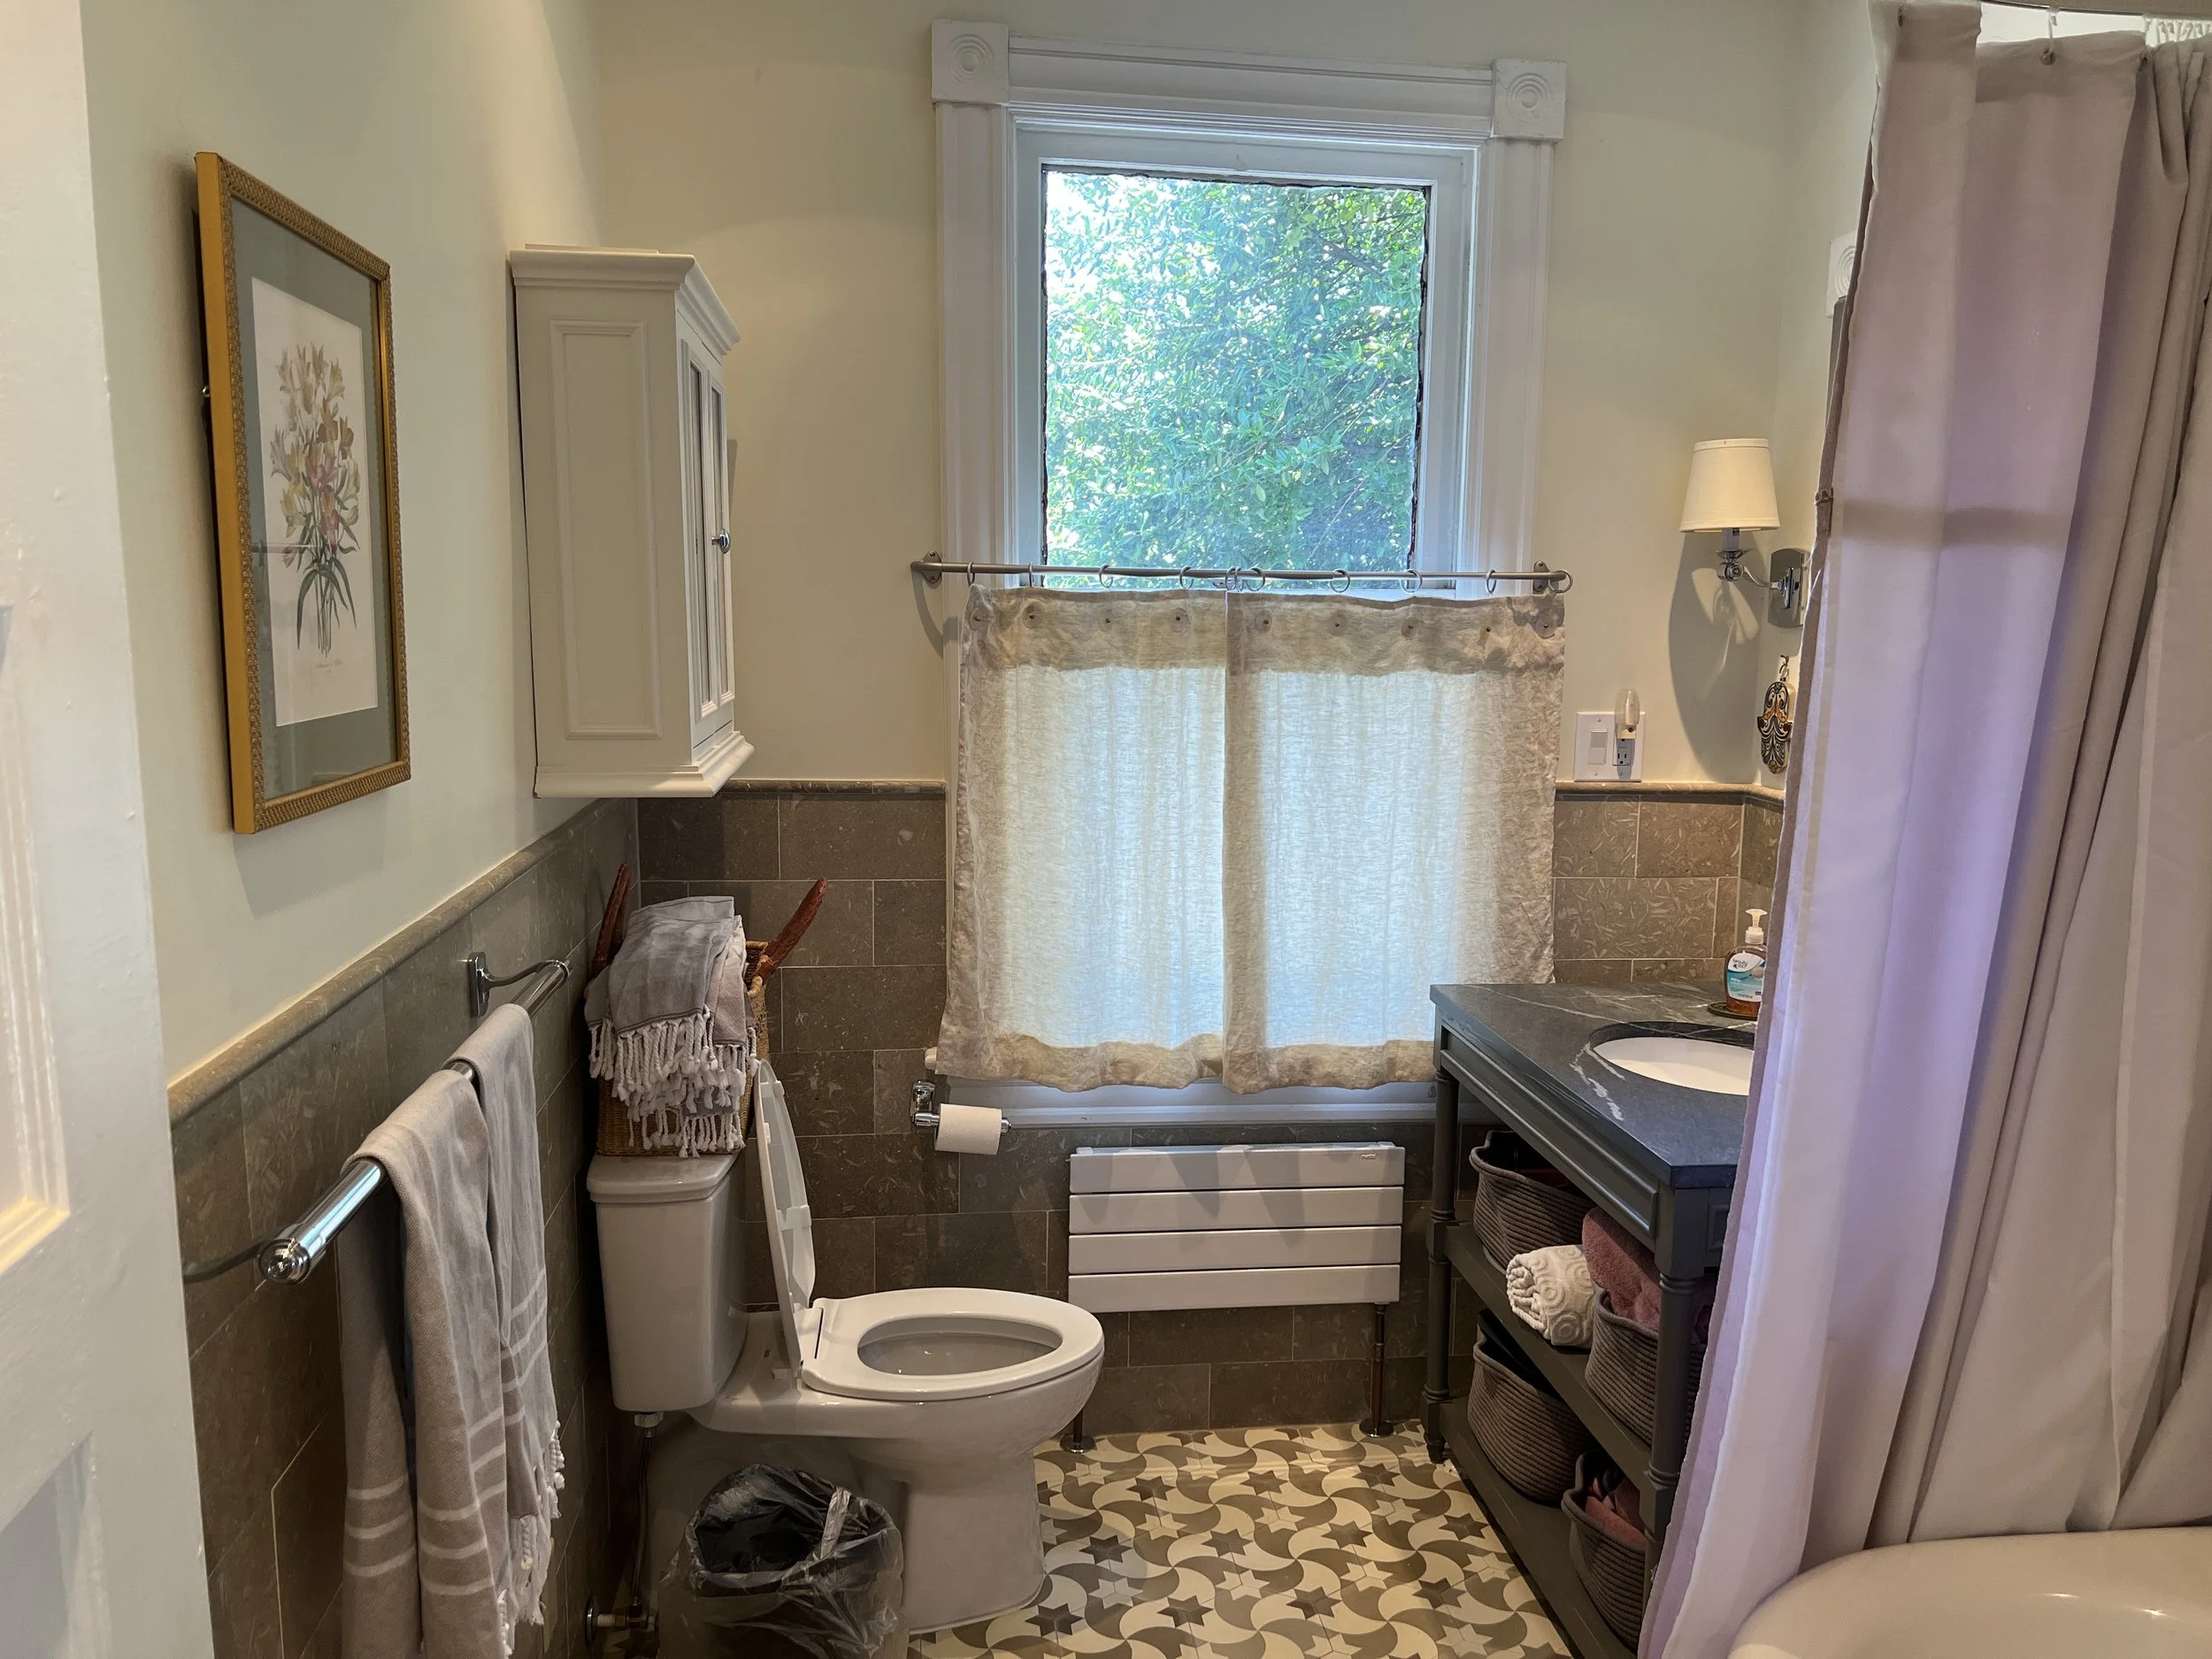
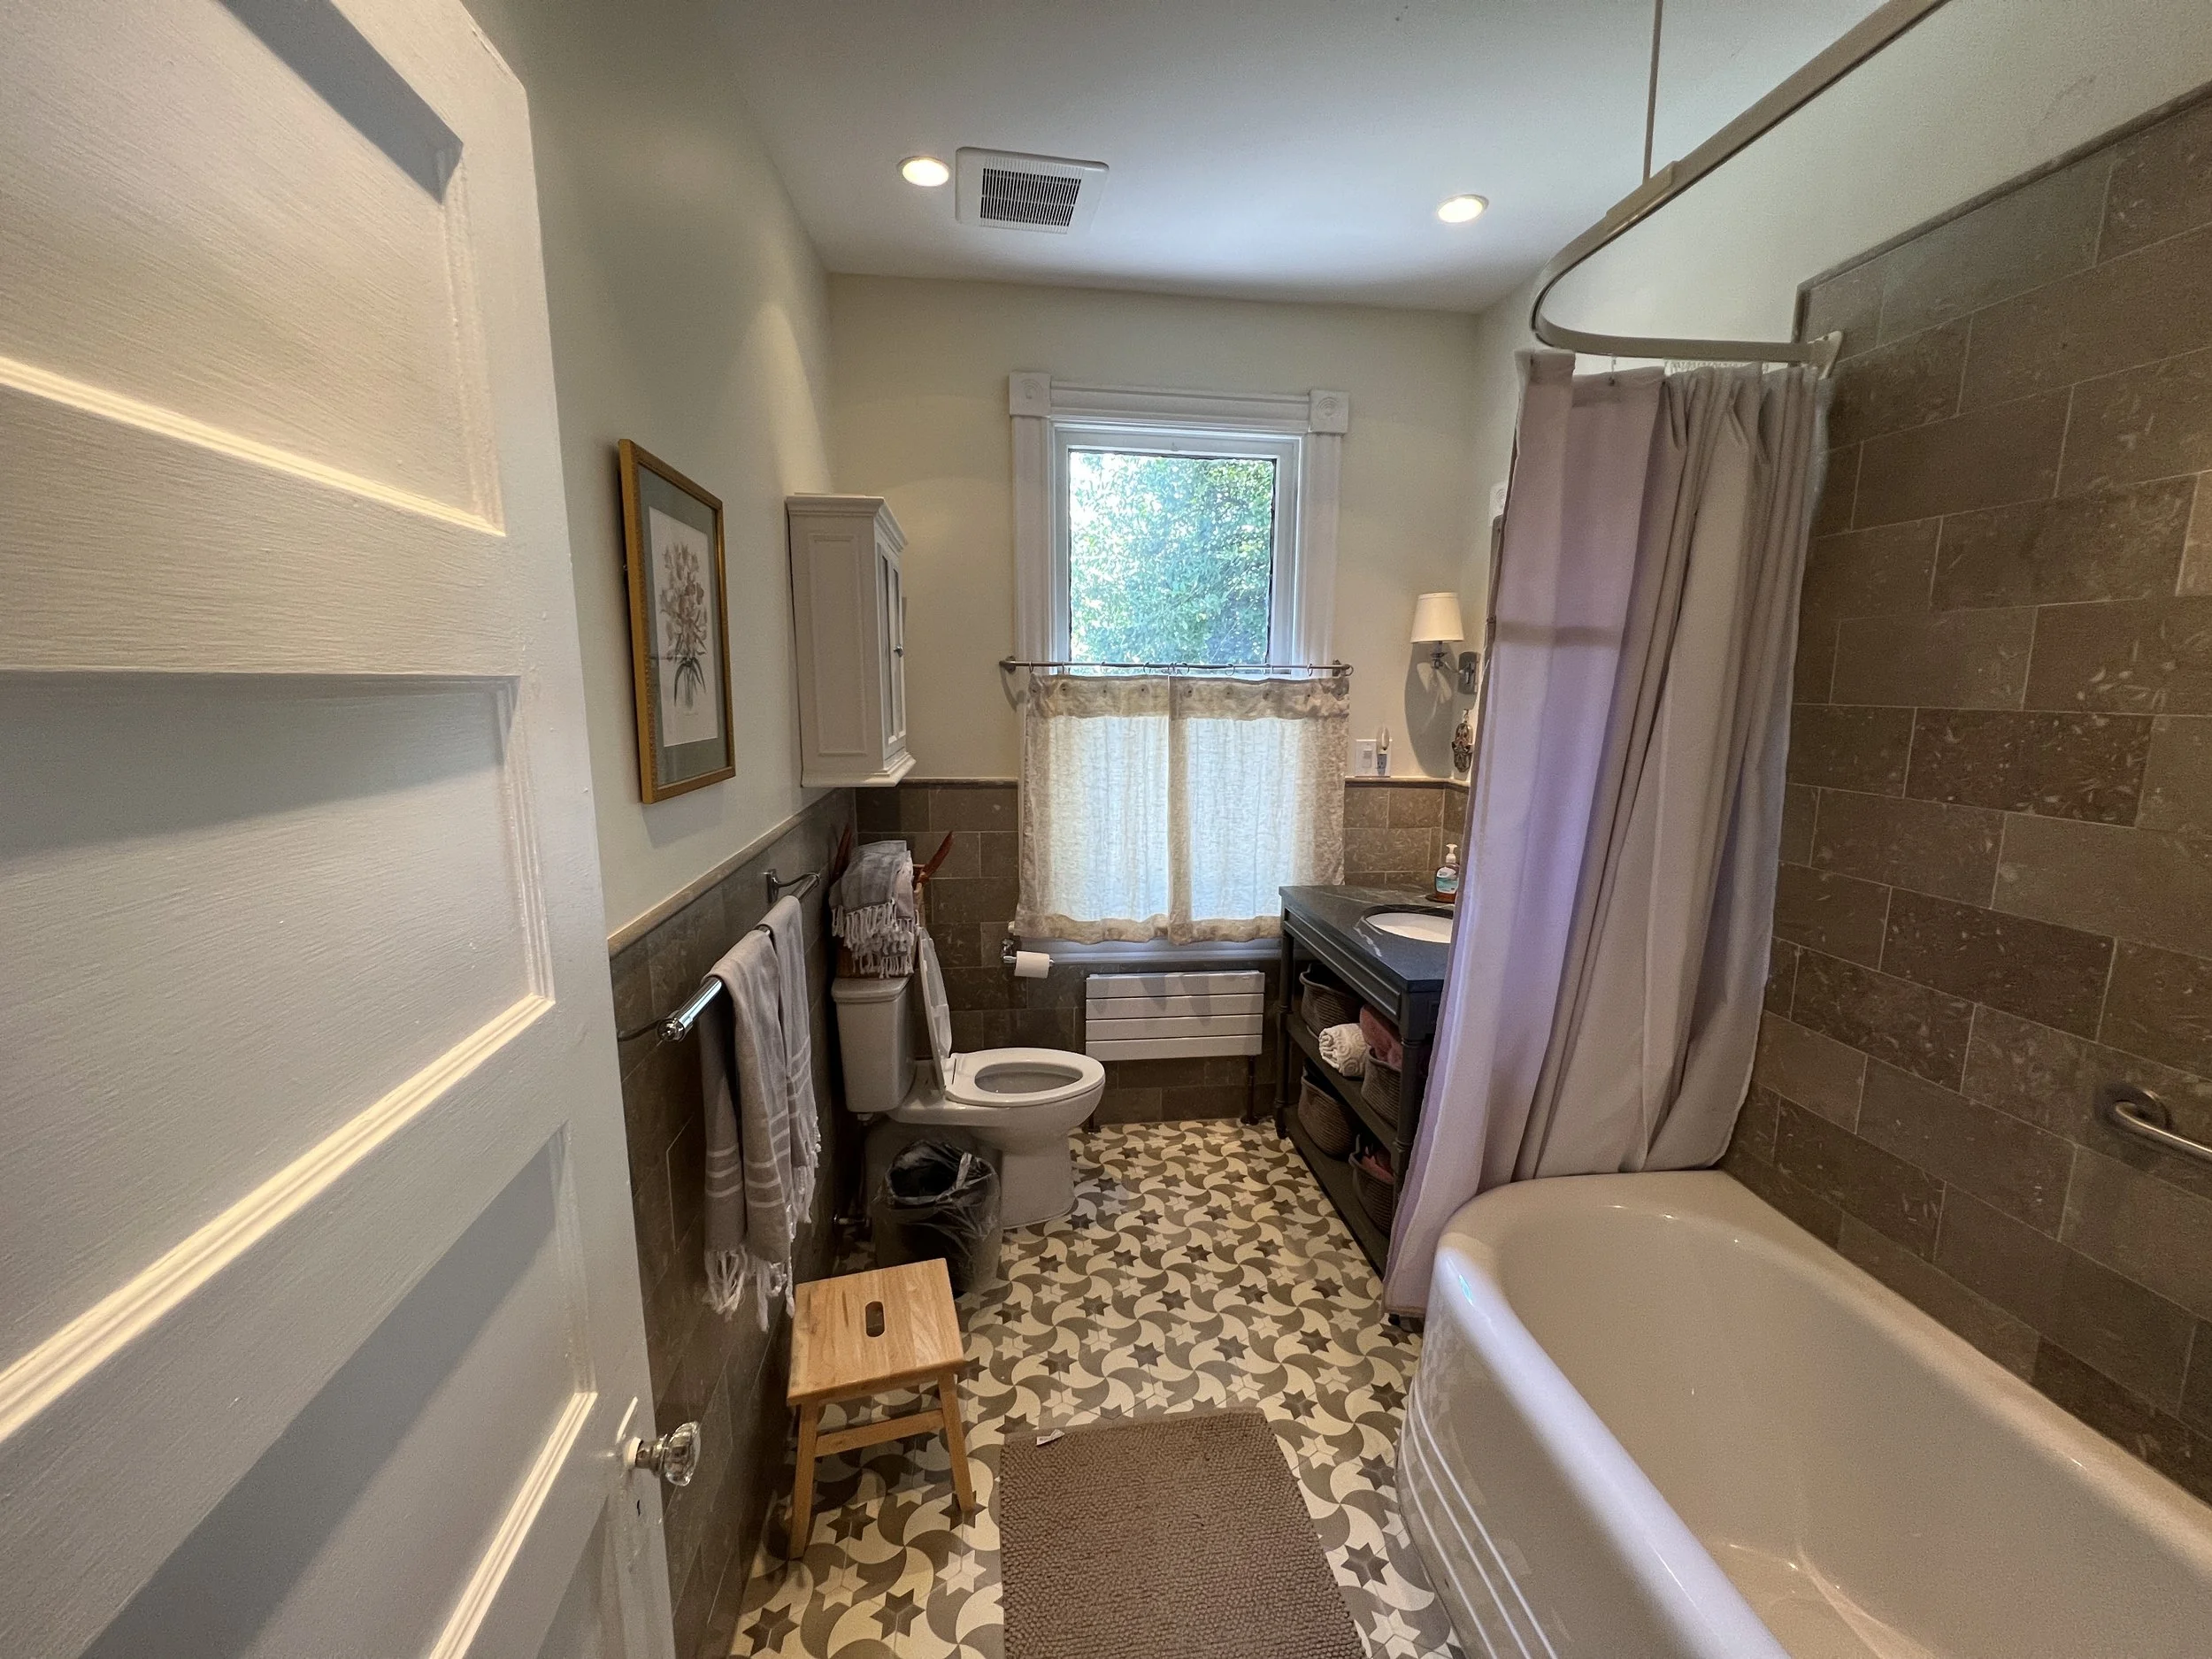
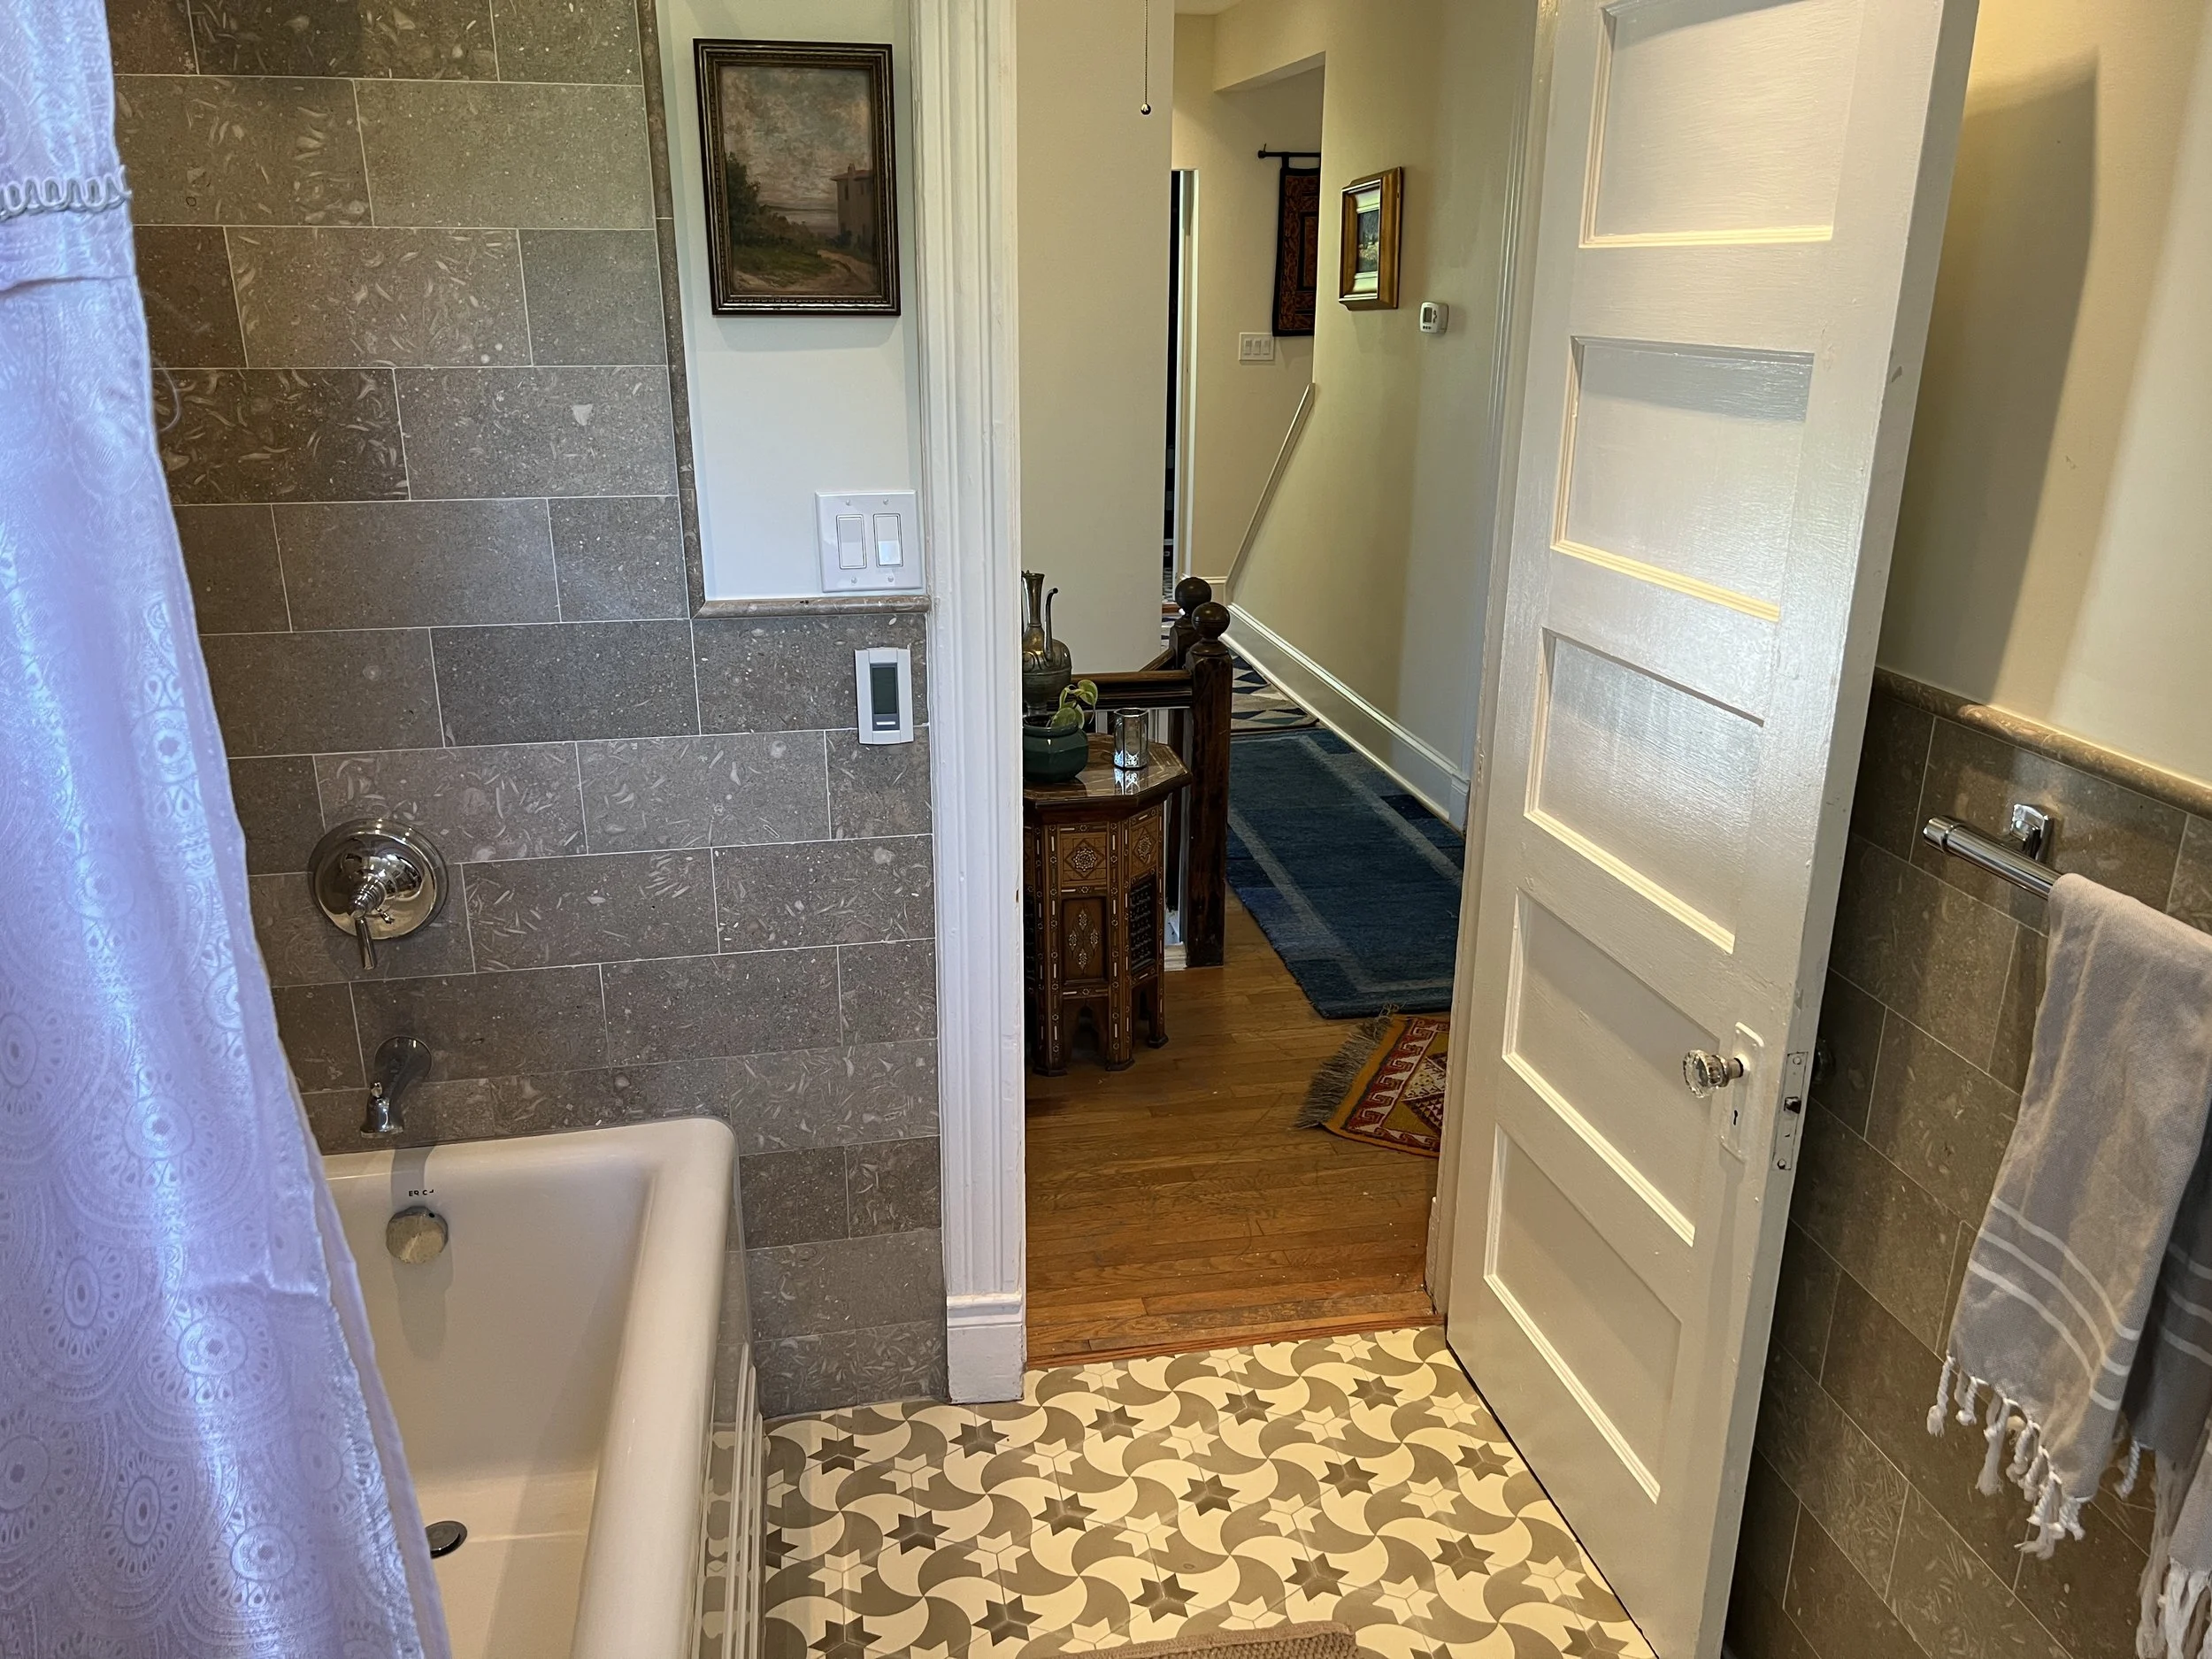
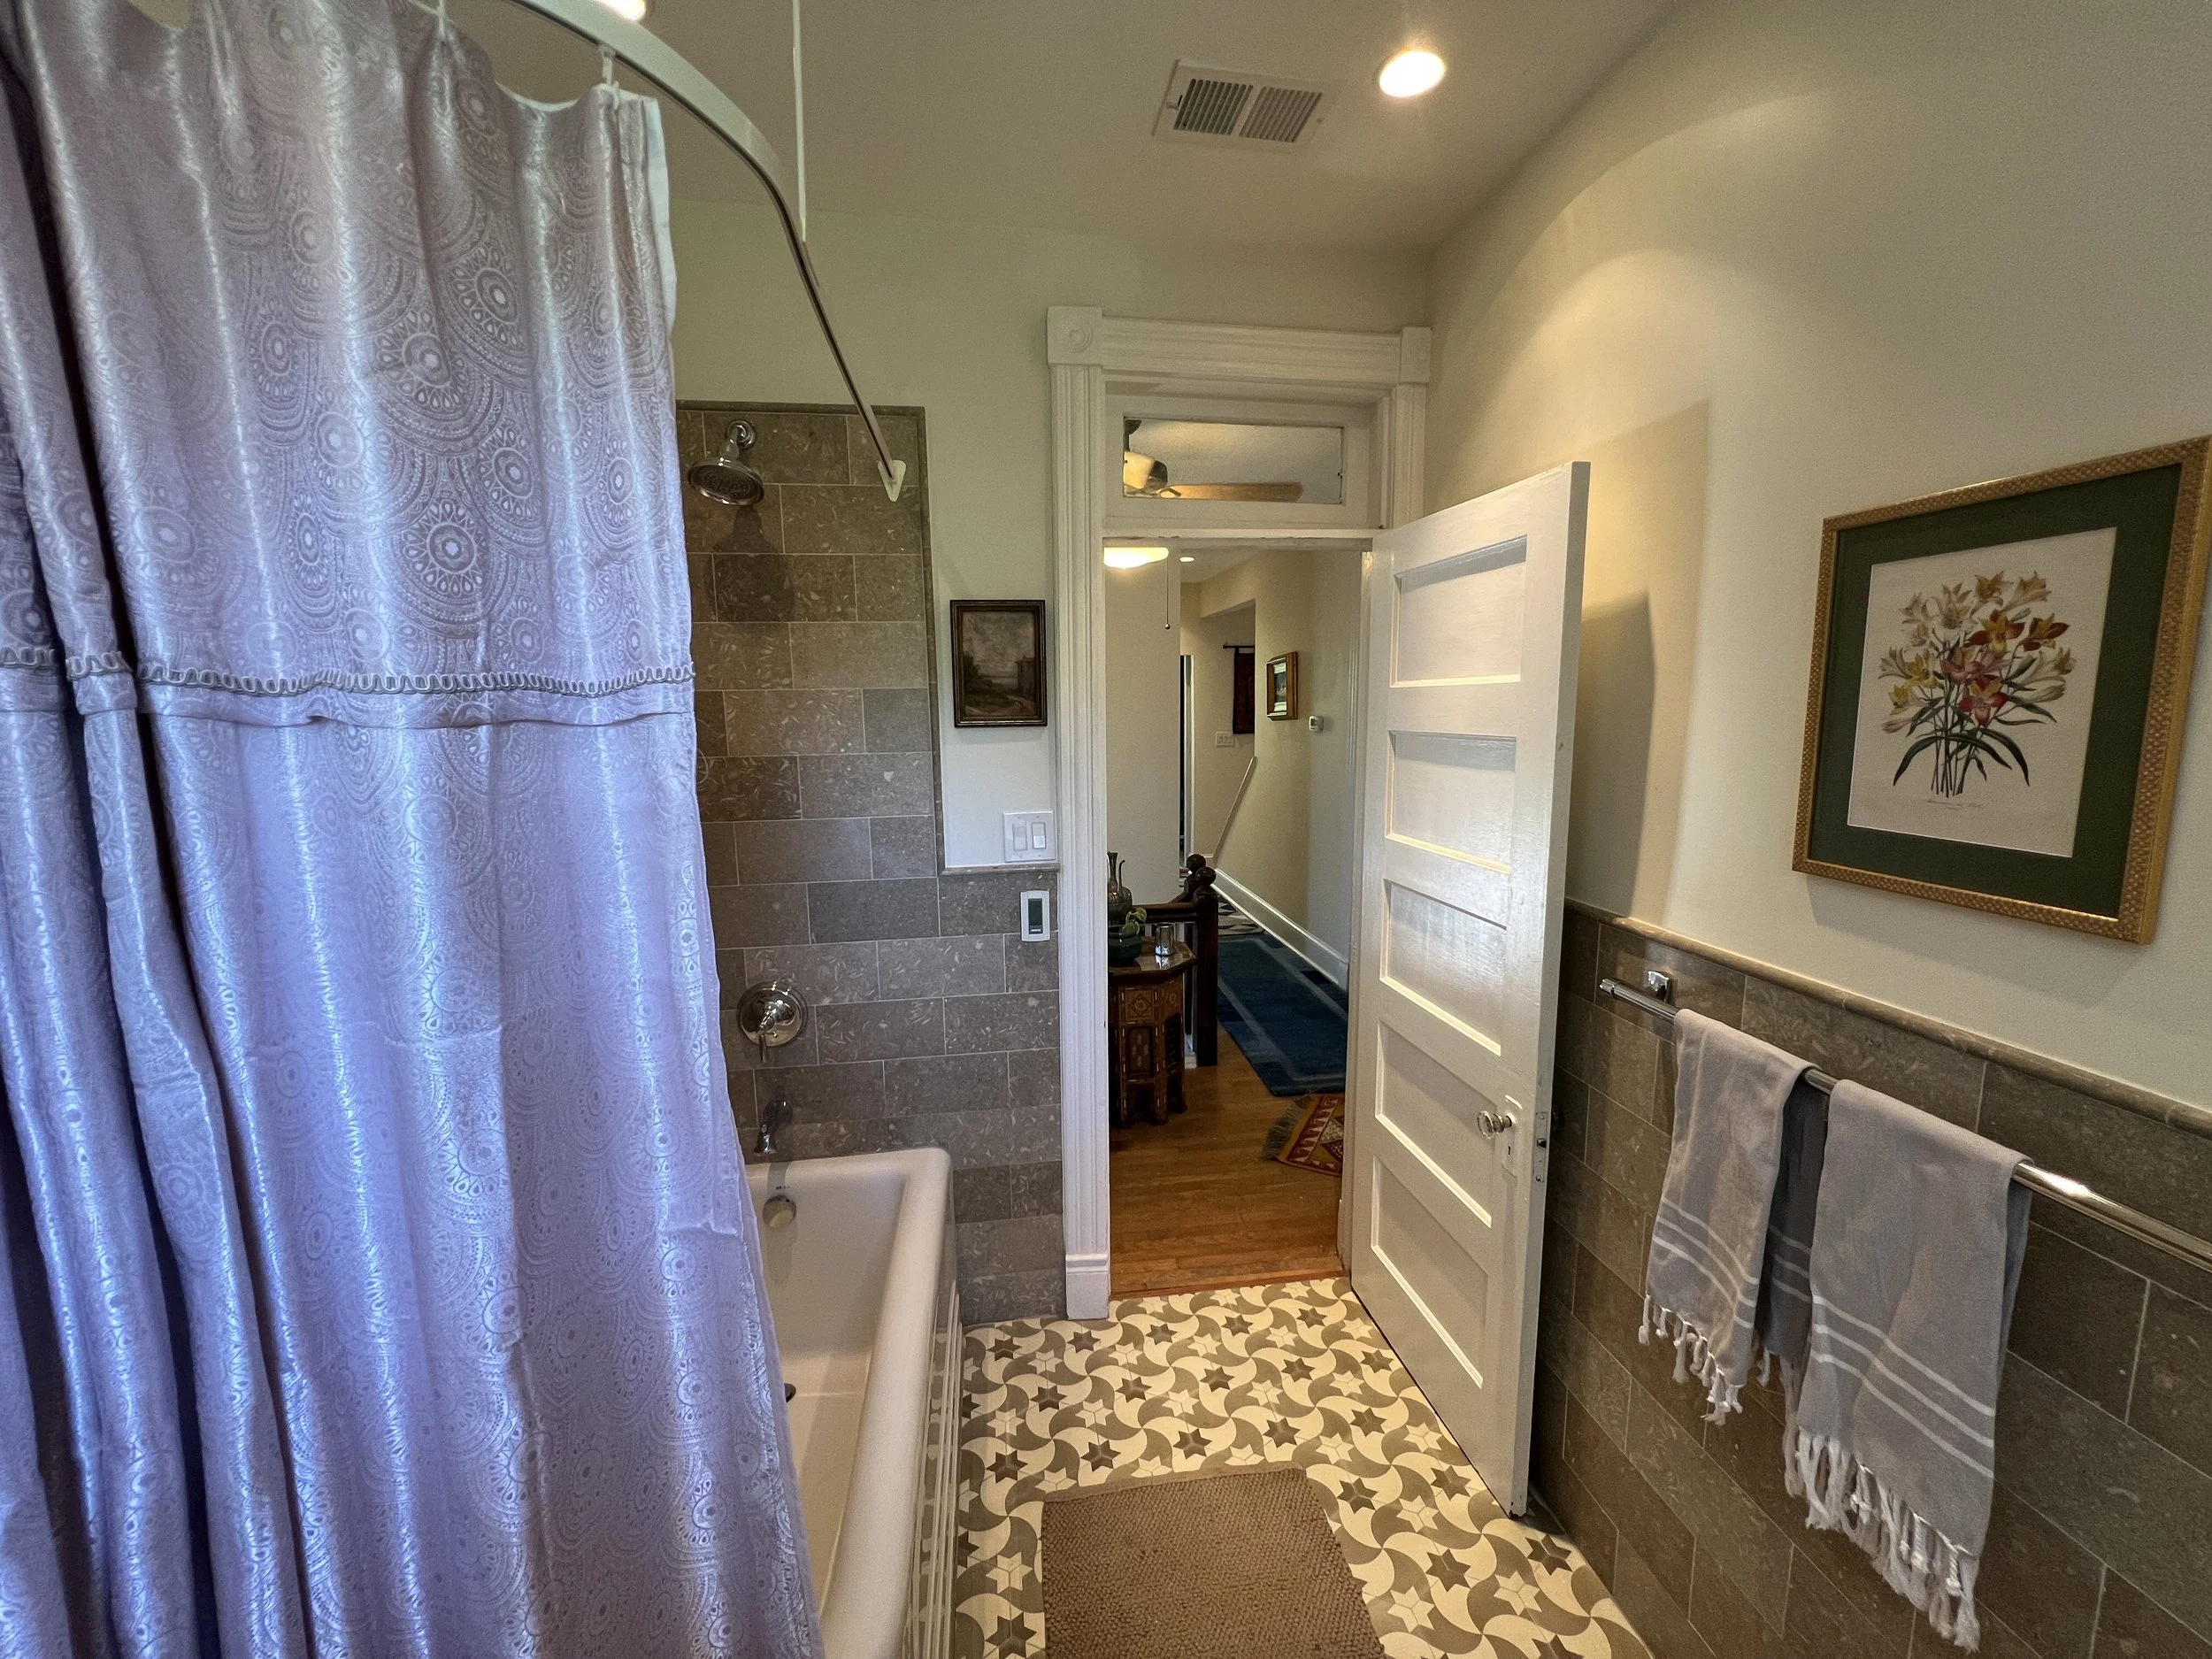
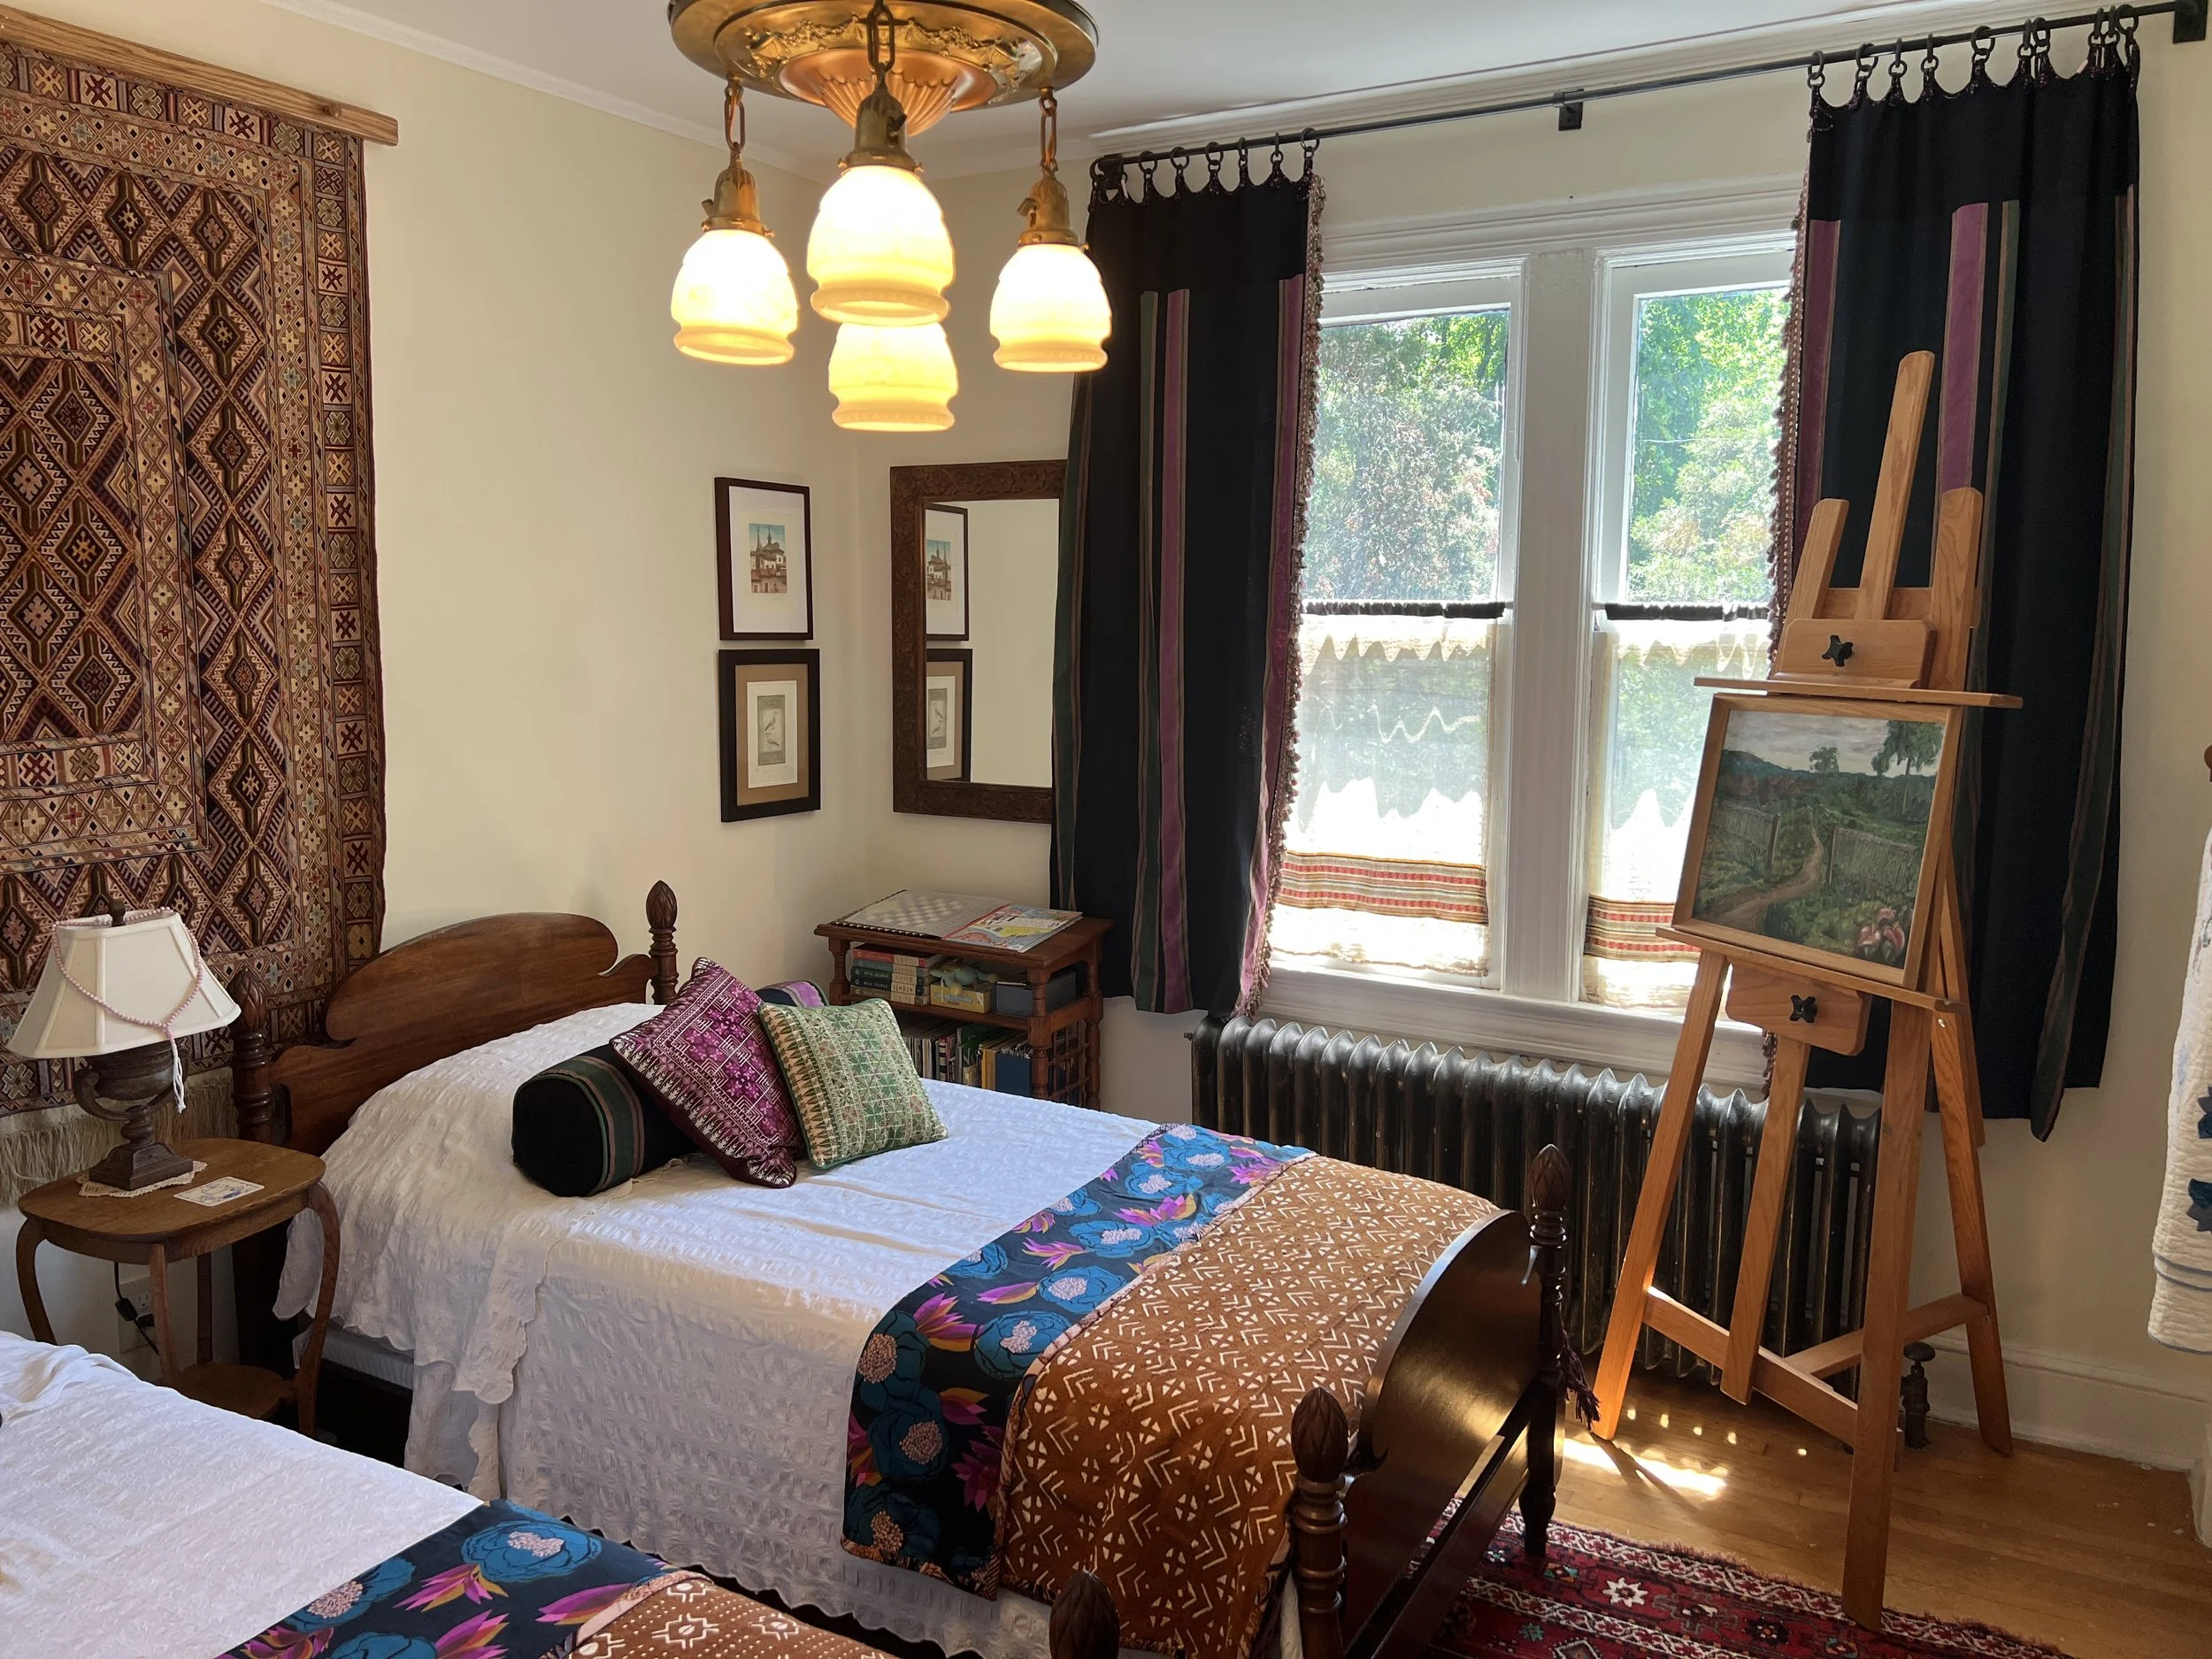
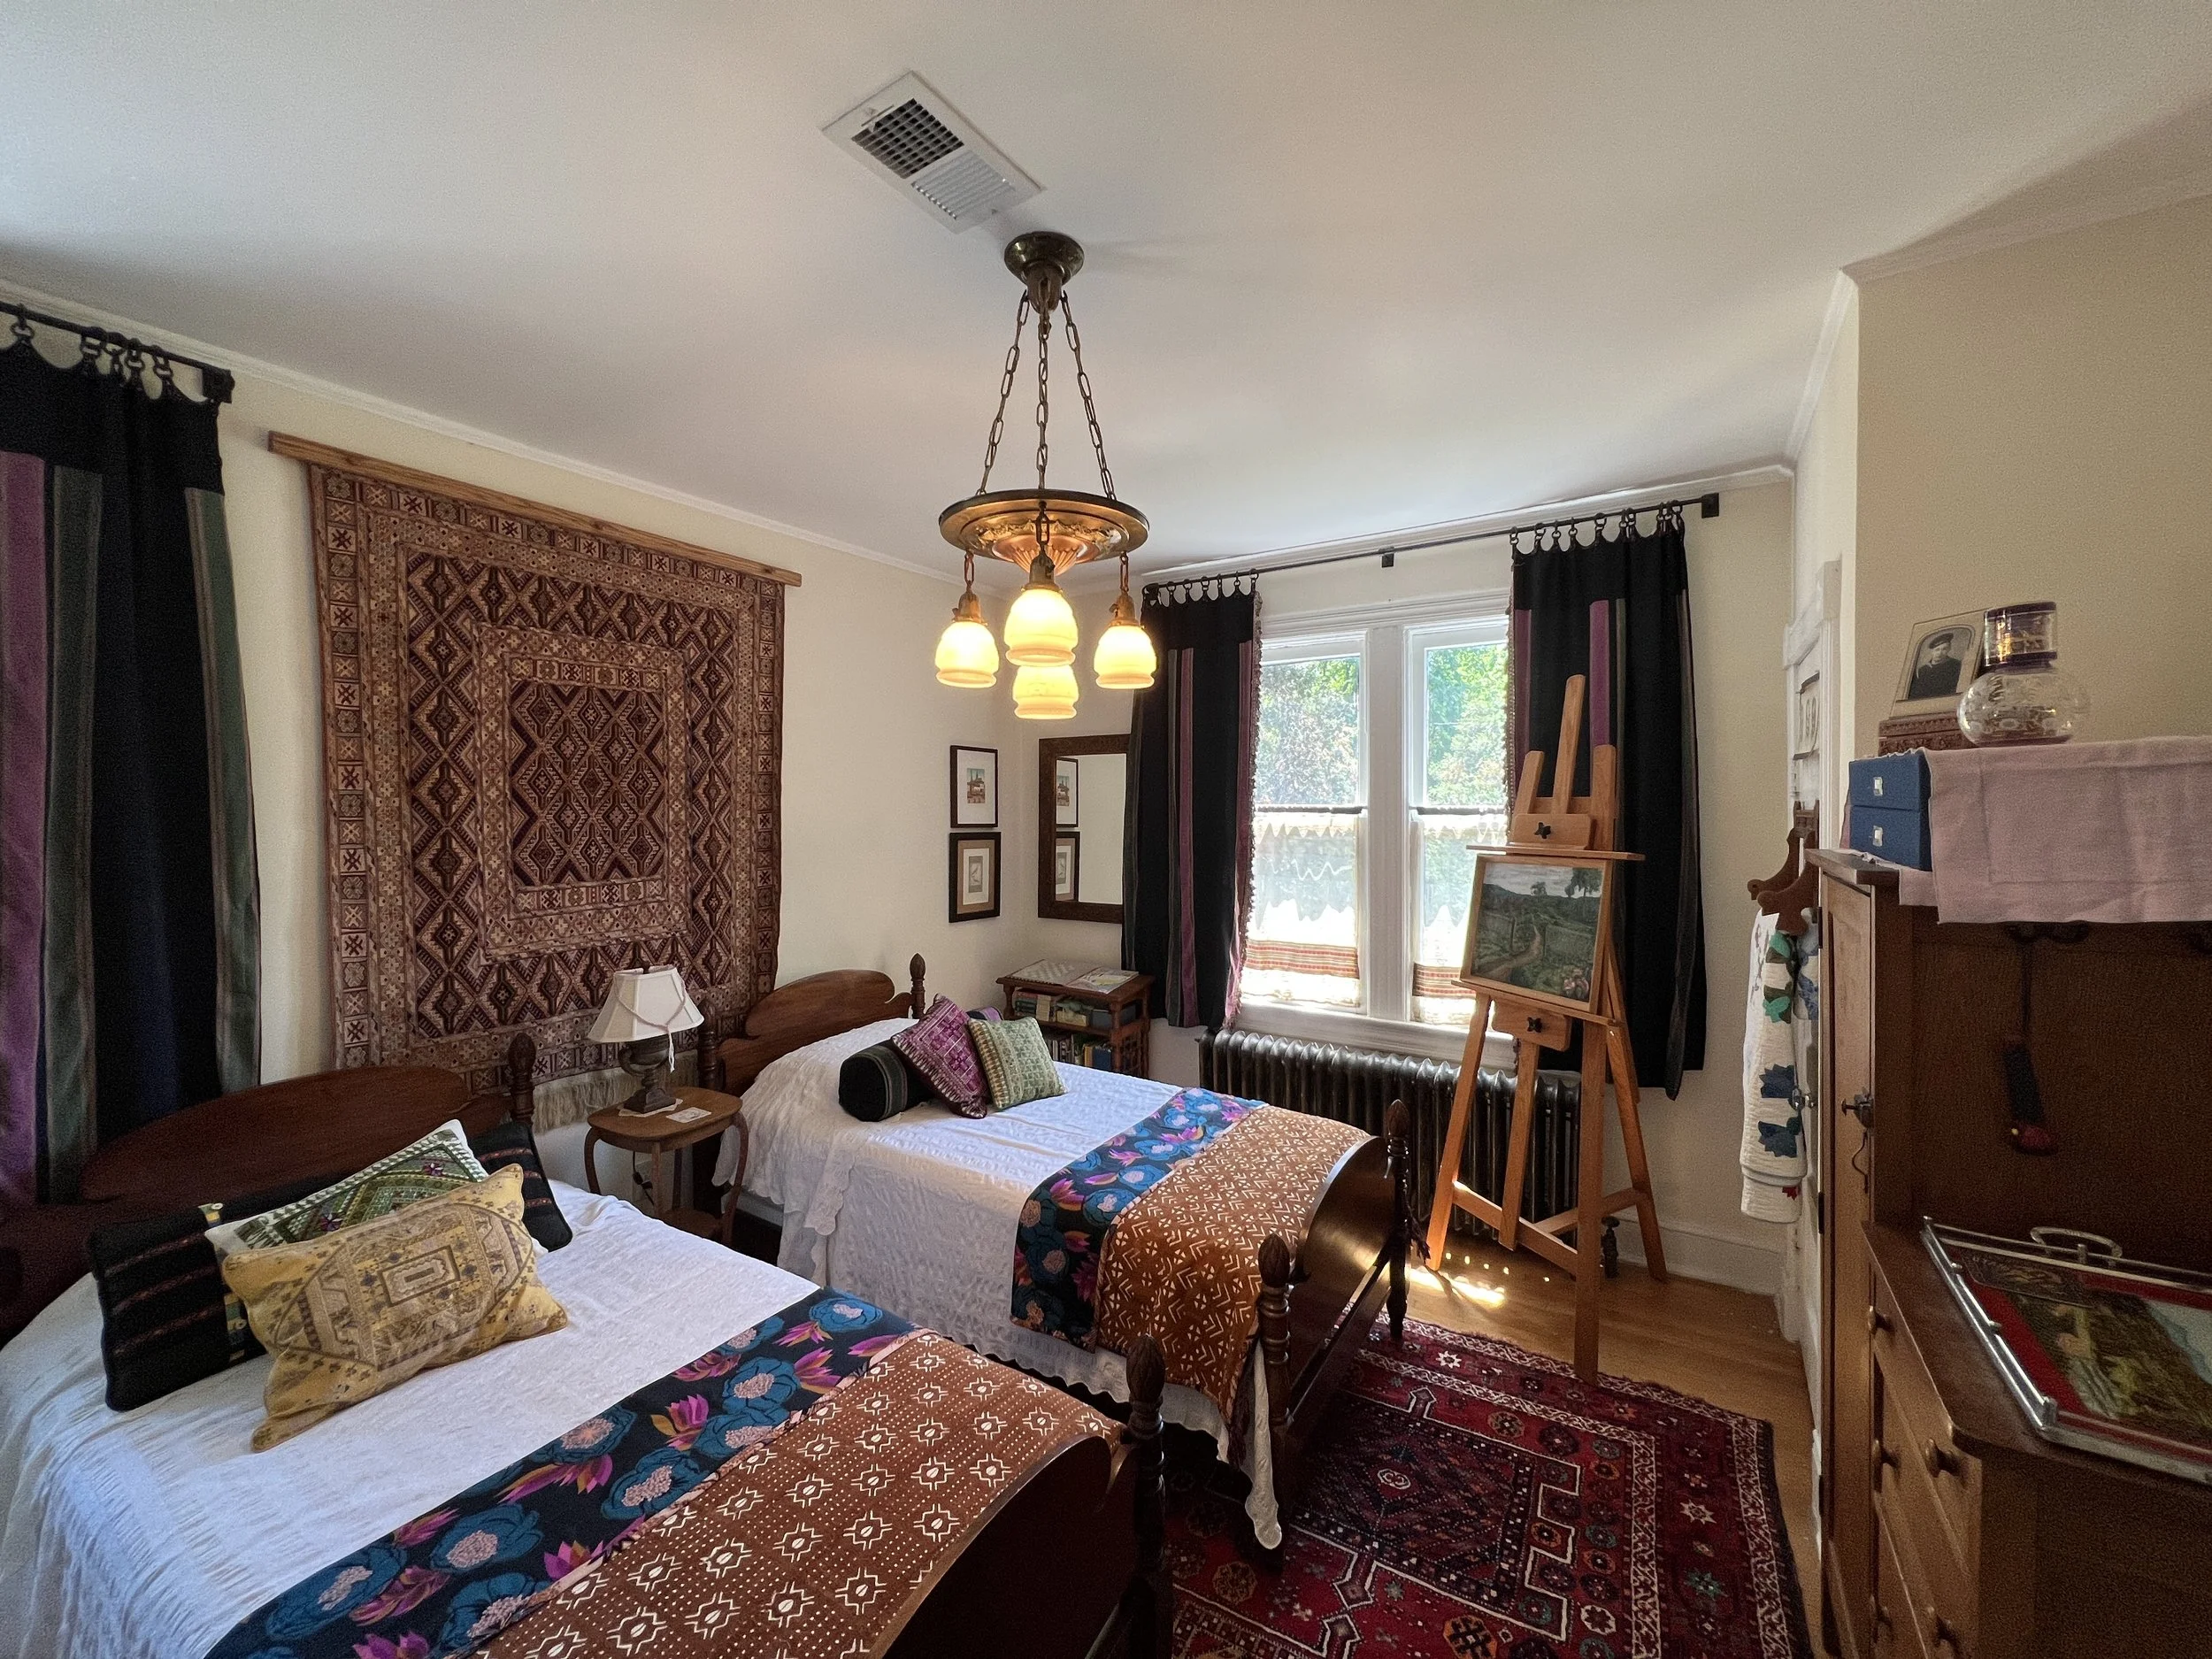
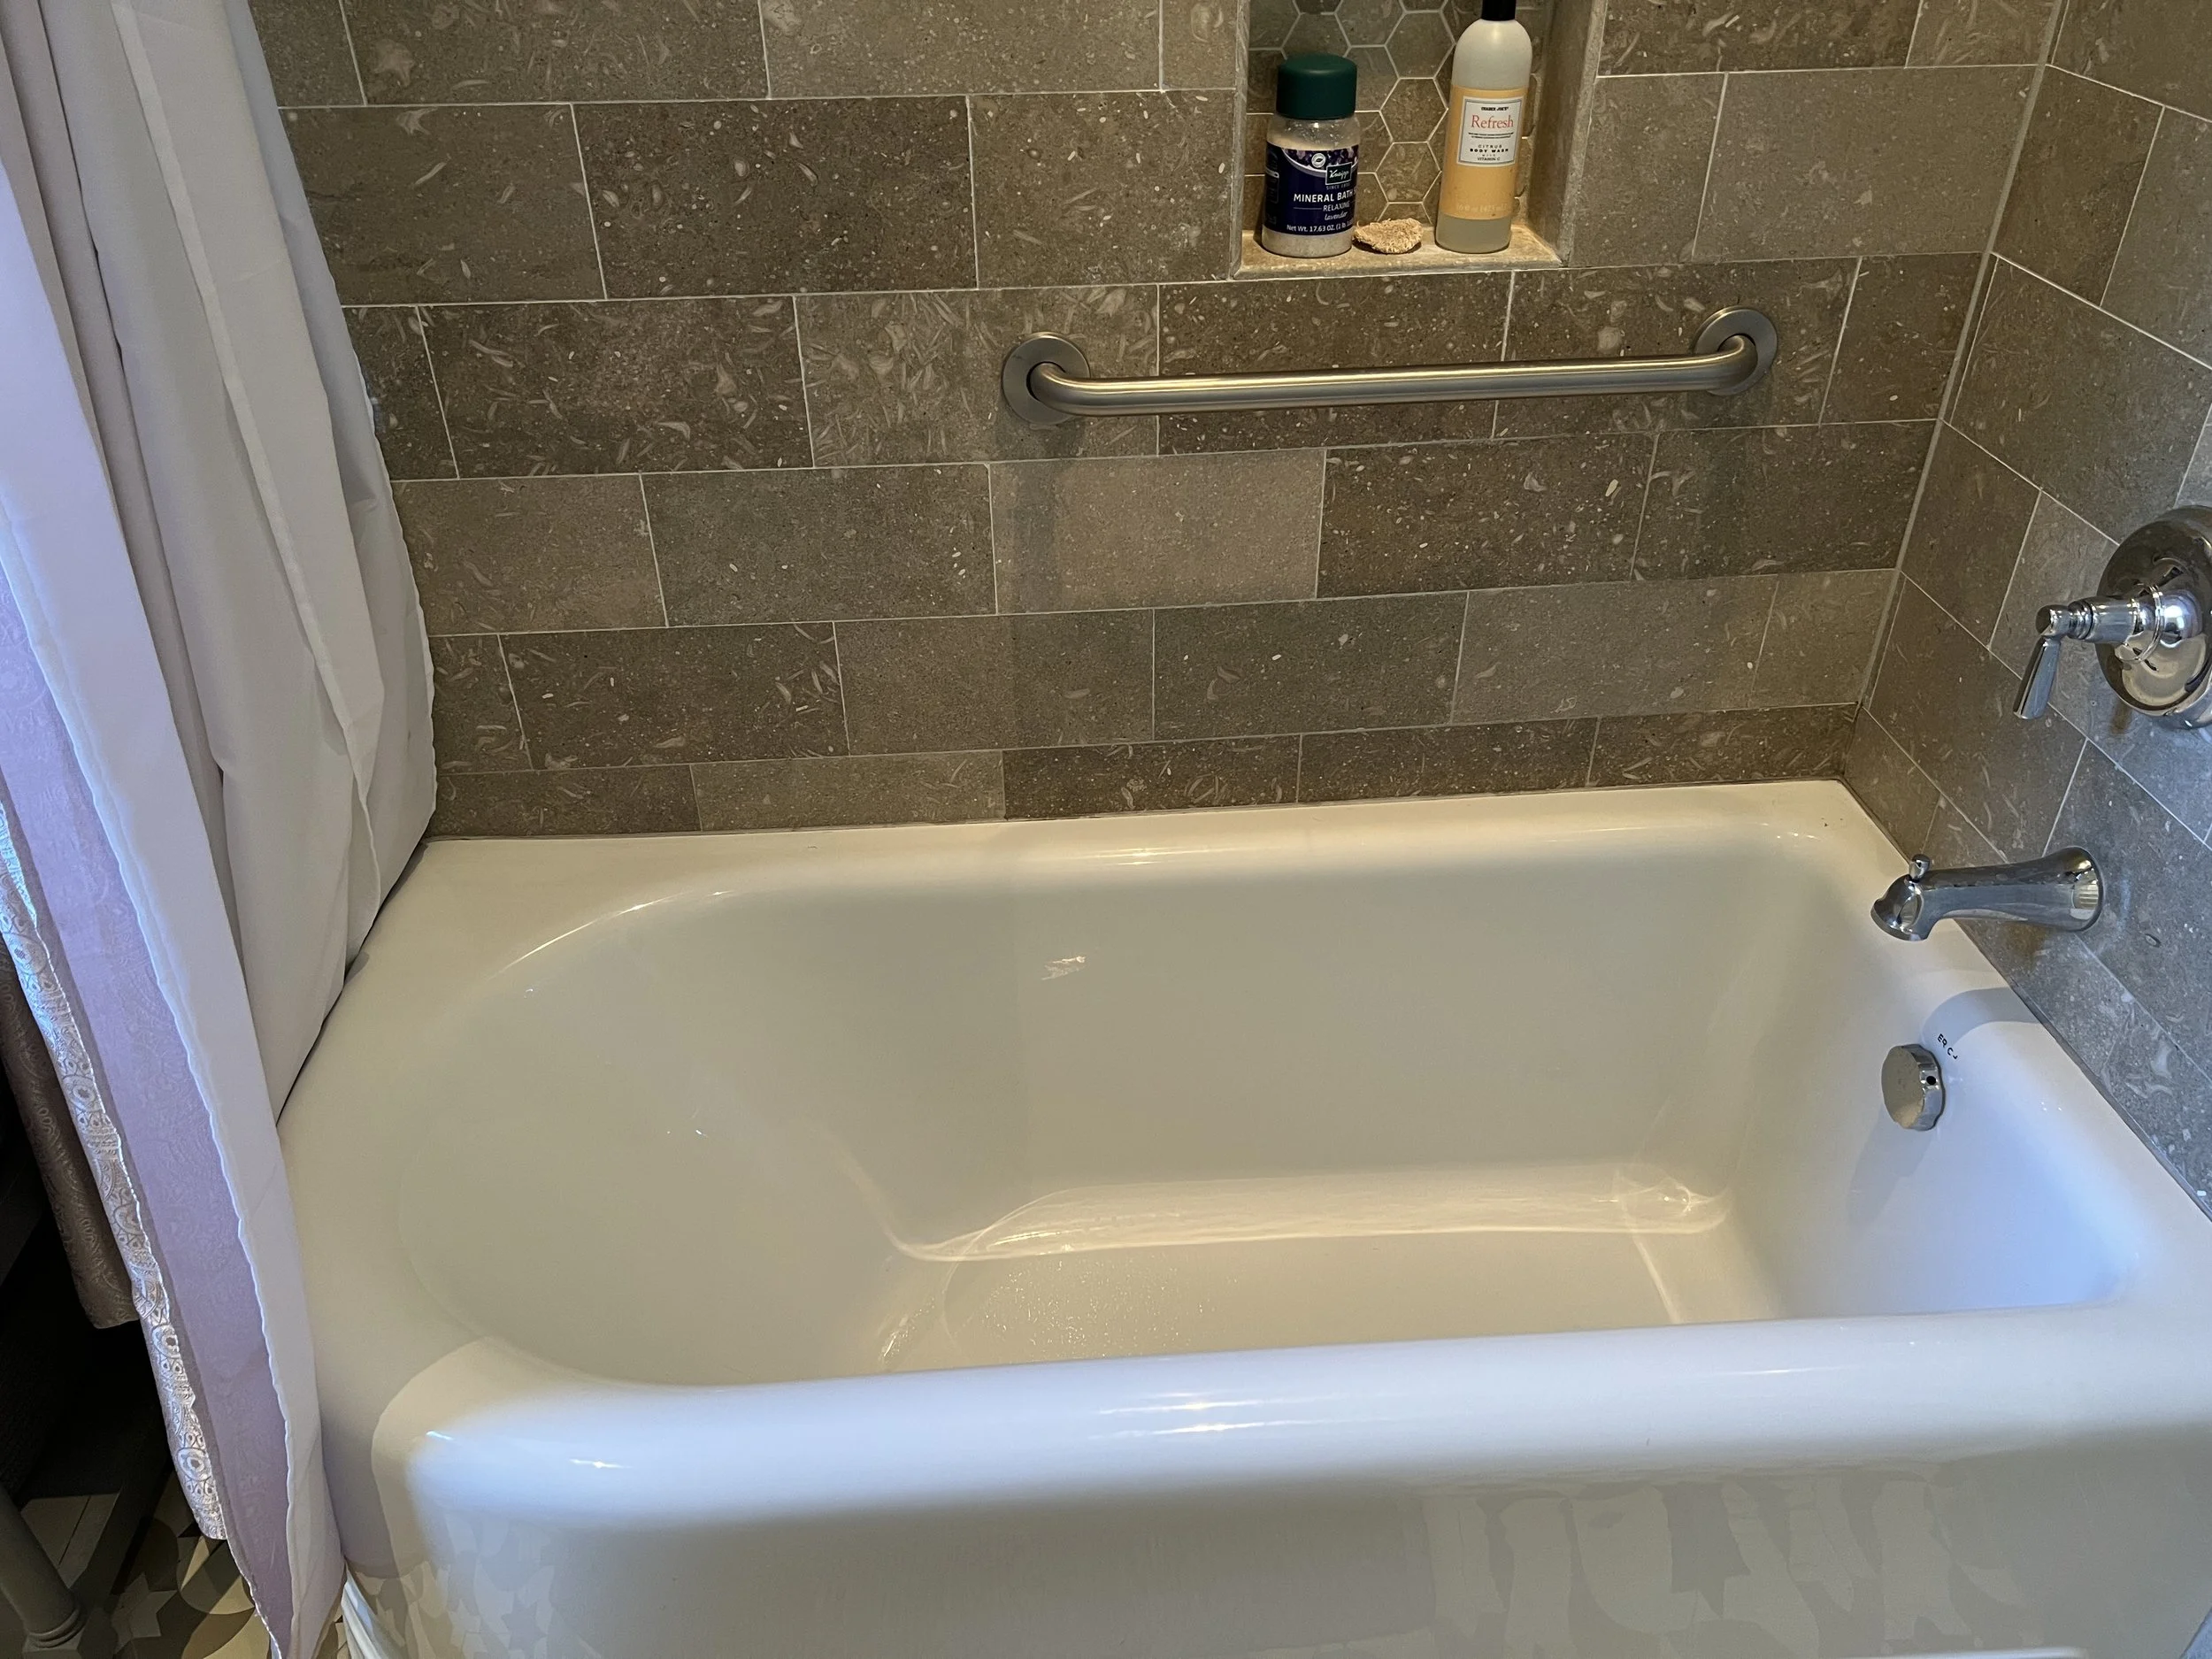
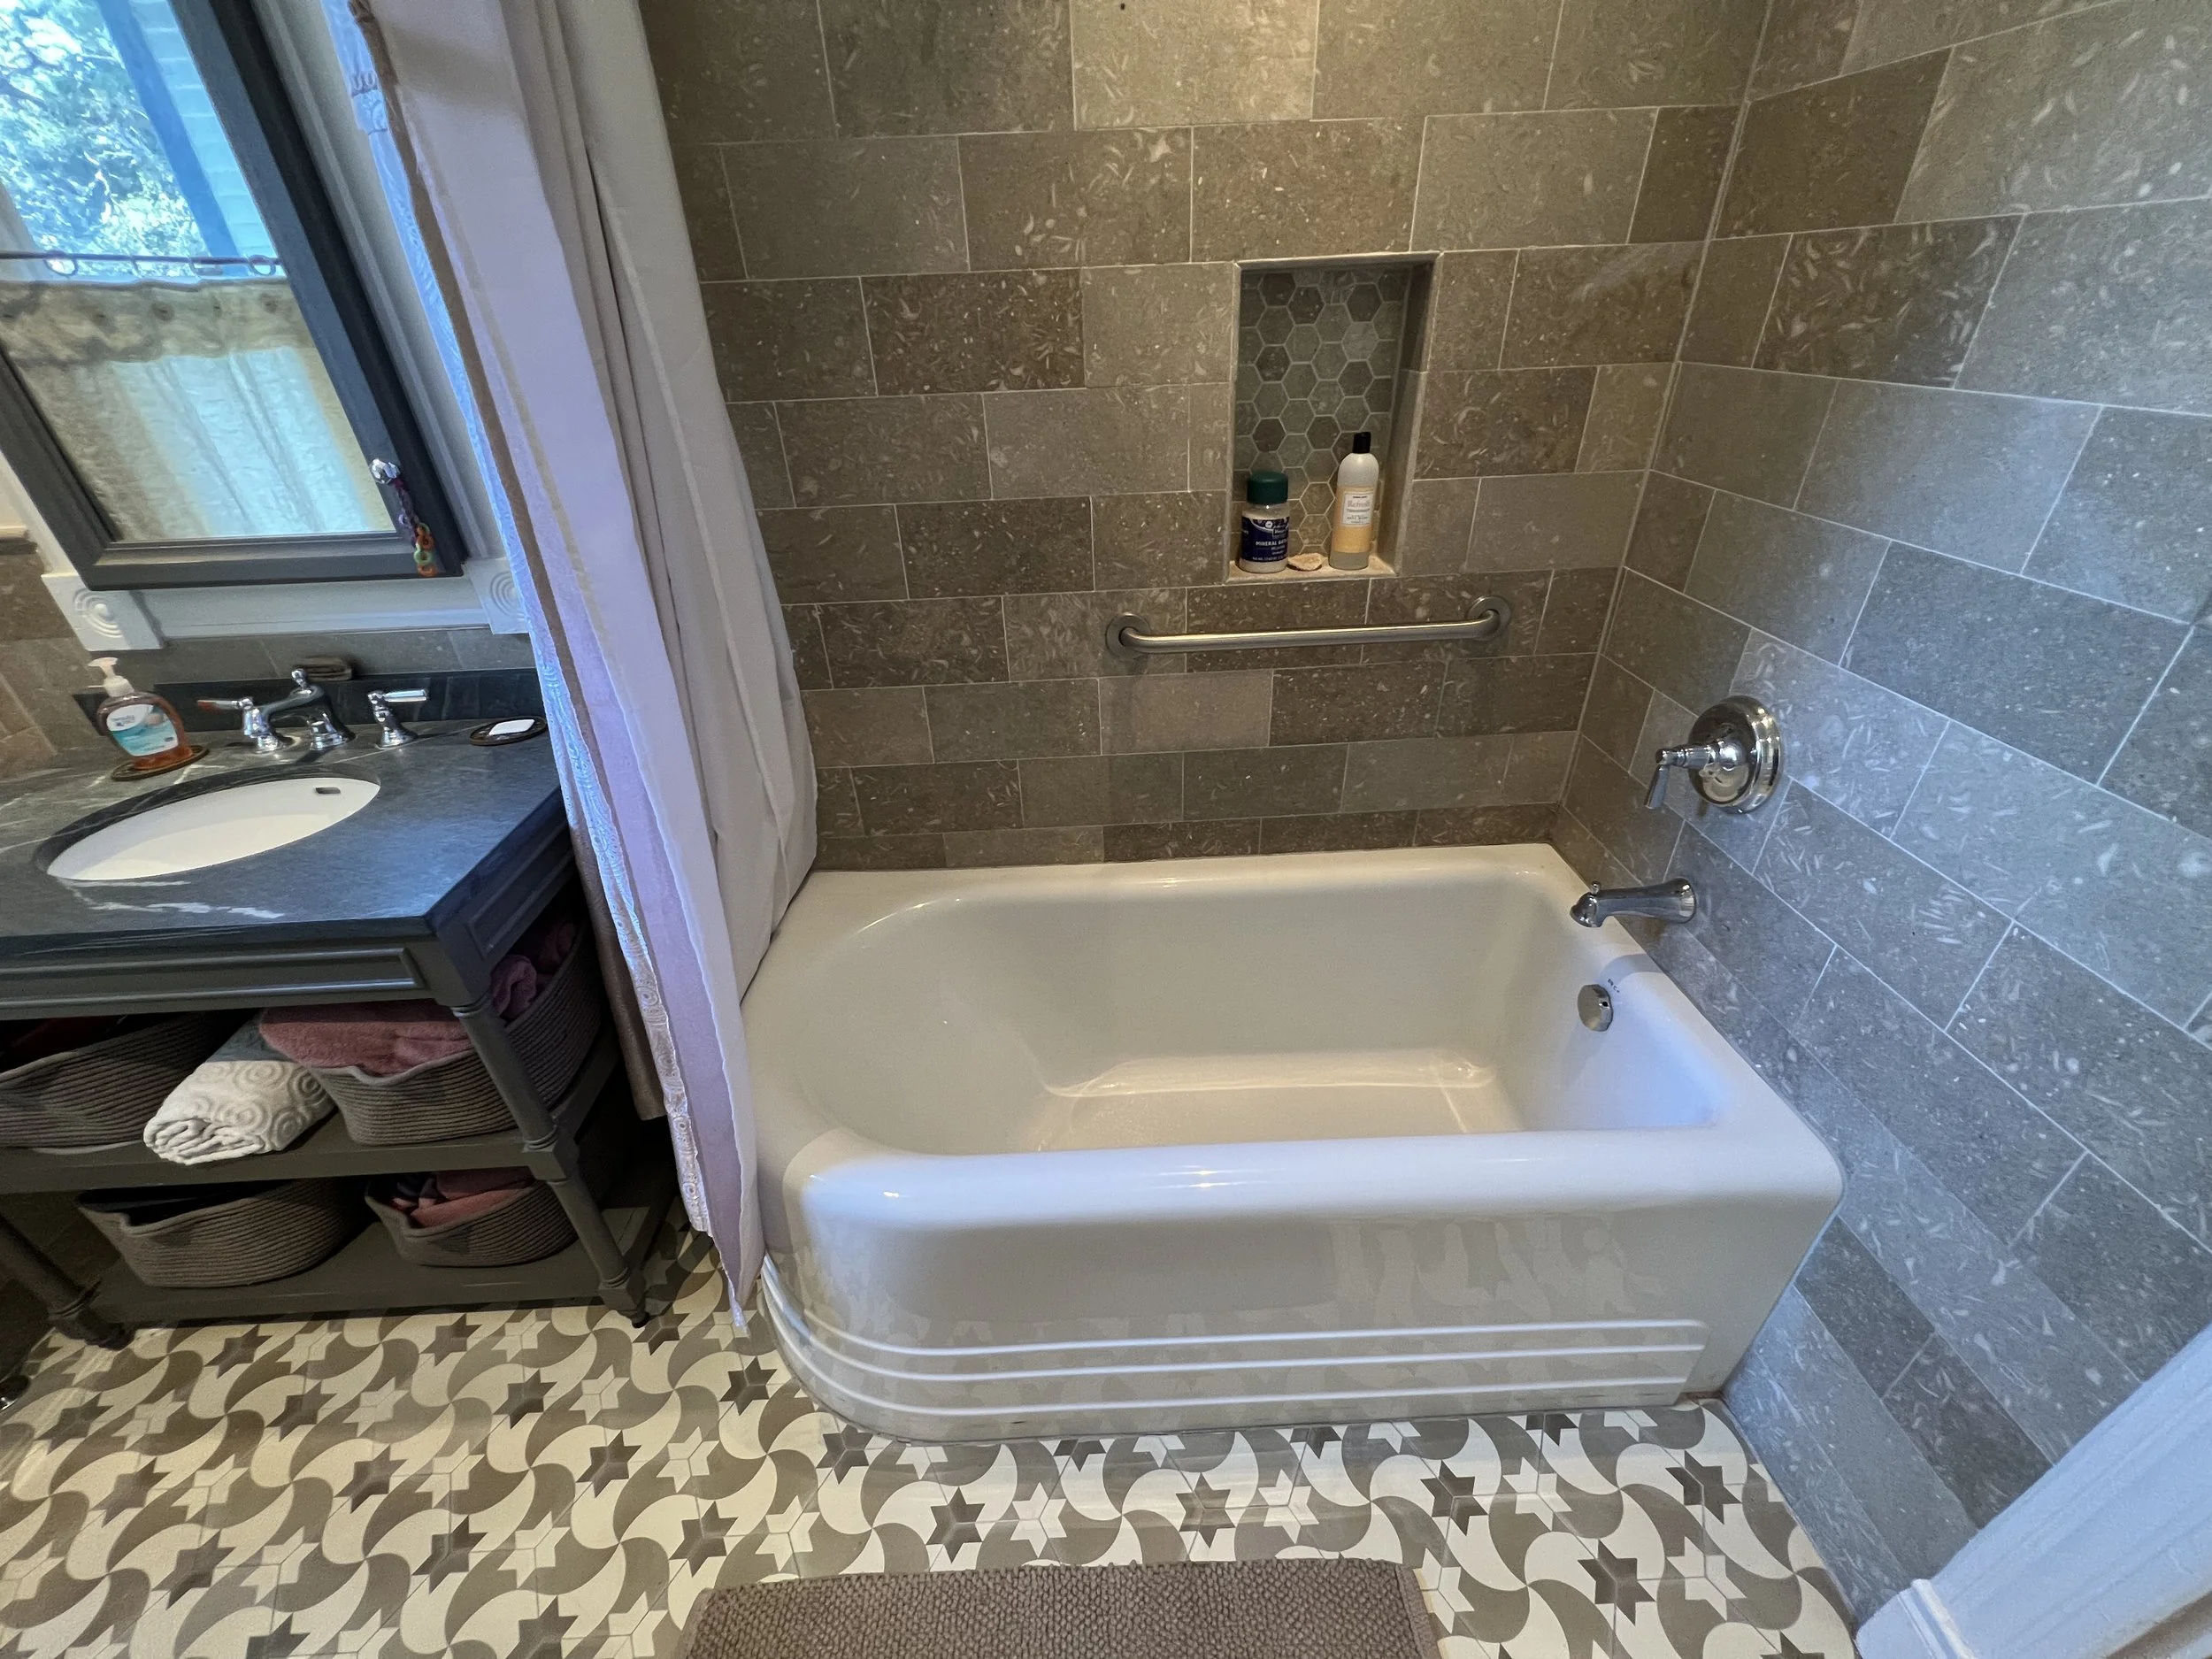
Use the wide angle/ultra wide setting. This one is a game changer, especially in small rooms and tight spaces. A lot of phones have more than one camera lens these days. I would guess an upgrade to one of these phones would pay for itself in short order with the amount of time it would save. See the difference in the photos below. Wide angle also helps a good estimator sketch the room, even if a detailed diagram wasn’t taken.
Don’t stand in the center of a room to take photos. This one accounts for 90% of bad photos. Think opposite corners. Walk to the corner of a room, turn your back to it, and snap. Then walk to the opposite corner of the room and repeat. Standing there spinning like a sprinkler makes you take too many photos and you WILL miss something(Don’t forget the floor. Depending on the size of room you might take two from each corner. One angled down toward the floor slightly and one angled more towards the ceiling. This does not mean point the camera straight down and straight up, just a slight angle you should still be able to see the majority of the room).
Take close ups of damaged materials, especially when the damage is subtle like swollen hardwood floors, casing, or baseboards. When you are in the house, it’s obvious what was damaged. When you are behind a desk looking at photos next to the estimate, it’s not. The term close up can be misleading here – a picture of swollen hardwood from three inches away shows very little so take a series of photos starting a few feet away and getting closer with each photo until you end up with the closest shot. If the lighting is tough and the hardwood cupping doesn’t show up, lay a clipboard across the wood and photo the edge of it to better show the cups. If on a smoke job, move that cup on the mantel to the side a few inches to show the soot ring.
Take pictures of undamaged areas. If there is a room close to the damaged area that was undamaged, it’s good practice to snap an overview photo and label “no visible damage.” Like a bedroom off of a hallway where the hall bath toilet overflowed. Or the opposite side of a wet kitchen wall(if there is in fact no damage of course).
Use photos to document that something is high or premium grade. Check the kitchen drawer construction and snap photos if drawers have dovetail joinery. Show with photos that the carcass is maple/oak plywood.
Have a routine. Take the same type of photos in the same order in every room. On large fires be methodical. Always take photos from room to room in the same direction moving through the floor(i.e. walk the floor plan clockwise or counterclockwise from room to room).
Get the tape out. This one is kind of extra credit. If the casing or baseboard is larger than your standard 2-3 ¼,” snap a shot with measuring tape held across the profile to document the height. The same works well for siding profiles and gutter widths. Again, it’s not about having to pretend to be an adjuster for the insurance company, it’s about getting fewer questions and less scrutiny over your estimate (lookout for a future post about this). This will also set the stage and build credibility if supplements are required.
360 Matterport type camera/scanners are becoming more common, but the best camera is the one that’s with you as the saying goes. Video has a limited use since the files are so large, it’s not for everyone.
Can you take too many photos? Yes. There’s no need for redundant photos. I cannot count the number of times I looked through a report showing 30+ photos of different 3x3 areas of drywall and had no idea what was damaged. Three or four photos per room should be adequate if they are thoughtfully taken. If the tips above seem like a lot of extra work, think about all the time saved sketching, writing the scope, adding supplements, and going back and forth with the insurance company or third party referral service. You will definitely end up with net time and cost savings.
If you send scope notes and photos out to an estimate writing service like us, the tips above will ensure you get a better looking report, and better yet they will allow the estimate writer to double check the scope. Two sets of eyes are always better than one when it comes to a scope. We can see separate items like a shower niche that maybe you didn’t know there was a line item for. Or realize you could have added small things like detach and reset window treatments to the scope.
Try these out for yourself on your next site visit. Again check out the standard vs wide angle comparison photos below.
Standard setting…
Same exact spot with wide angle. Woah. (What do ya know there’s a grip handle in the TILE shower, and a curved shower curtain rail, and can lights, and a ventilation fan, and some sort of border around the shower tile). I never would have guessed it.
Again, standard setting…
and wide angle setting from same spot.
Standard (taken from the corner of the room of course)…
and wide from the same exact spot!
Standard…
Dead horse = beaten


